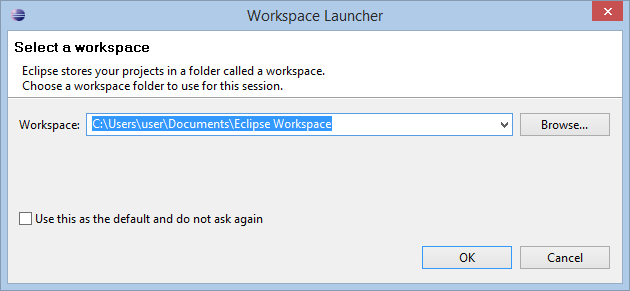
This section describes the technical trick you can use to migrate projects from either another PC or from the Force.com IDE to Eclipse (or vice versa). First when you launch Eclipse (or the Force.com IDE) the first thing you see is the dialog box with the project location folder (figure 1)
This tells you the location of the projects on your current PC. Using this you can browse the folder location on the PC and view the projects in that folder. There will be a .metadata folder (which you don’t need to copy).
You can use the File->Export feature of Eclipse, but if you’re like me you have a few dozen projects in your Eclipse you don’t want to move them one at a time. So all you need to do is copy the folders (project names) that you want onto a cloud drive such as drop box (or a memory stick or external drive) , then you are ready to import them into Eclipse.
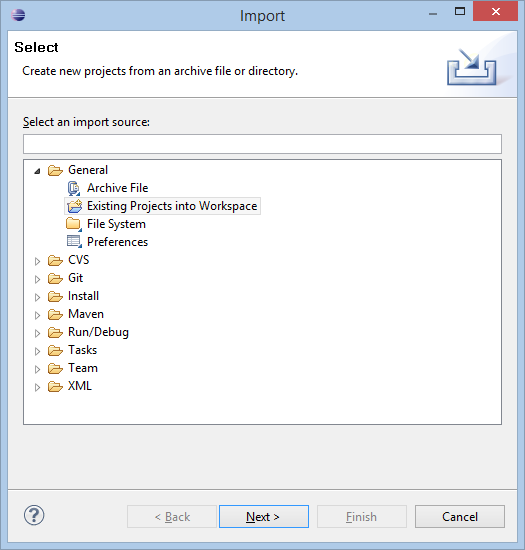
In Eclipse select File->Import. In the dialog select “Existing Projects into Workspace”. (figure 2)
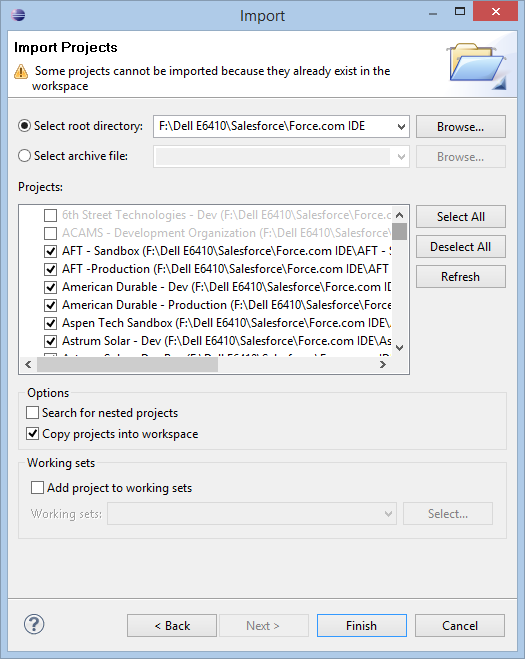
Navigate to the folder where you copied the Eclipse project(s) to and select the project. Select the folder and it will show you the project. Make sure to check the “Copy projects into workspace” option so that the entire project is copied (figure 3)
If you notice, when you select the top level folder Eclipse will discover ALL projects in the folder that are not currently in the project workspace. Click “Finish” and it will import the project. Now the project is in your Eclipse. Please note, that you may or may not need to perform an upgrade and that your password and token information DO NOT copy.
[contact-form]


